With all the rush to get a more sharper lens, sometimes you just have to slow down and enjoy the blur. Blur (or bokeh) is an amazing way to direct the attention to a select focused region of the image. You are probably already getting that on your favorite lens, by stopping to lower apertures (f stops), blurring out the background, playing with the depth of field, and bringing your subject into focus. But controlling the shape or region of the selected focus in a more creative and artistic way might prove difficult with standard straight lenses as we know them.
This is the part in the movie where the Lensbaby Composer Pro Lens with Edge 80 Optic for Nikon comes in.
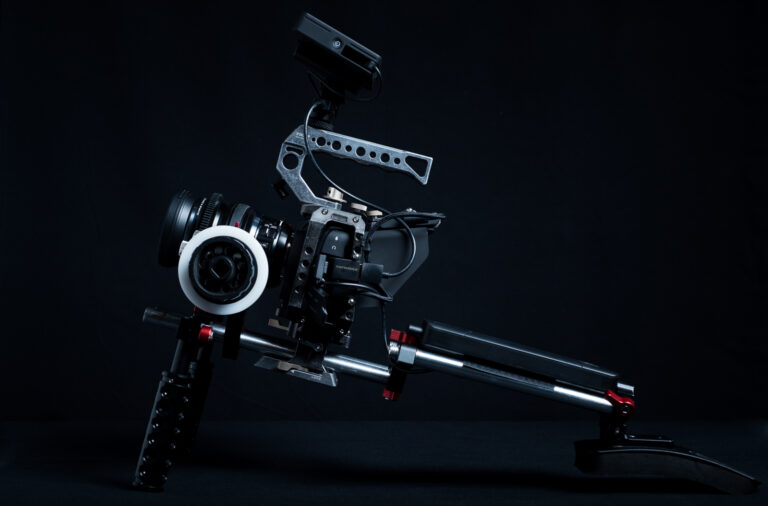
Lensbaby Composer Pro With Edge 80 Optics
The main feature of the Lensbaby lens body is that it has the ability to tilt and swivel on a metallic ball socket, much like the lenses in the old bellow cameras, making it very easy to creatively shift the field of focus to the desired place in the frame.
I want to mention right off the bat that this lens and review doesn’t fit in the technical and precise aspect of traditional optics where perfection is the main target. It has more of a subjective nature that caters to a certain style of photography.

The Composer Pro is one of the more advanced version of Lensbaby’s bodies, that features all the mechanics (and optics) to house their swappable optical units (Sweet 35, Sweet 50 and the Edge 80). Beside their focal length, each of these optics have their specific style of bokeh. For instance the sweet 35 and 50 have more of a radial field of focus whereas the Edge 80 will offer you a slice of focus across the frame, much like the traditional tilt shift lenses which was the main reason I chose it over the others.
The Edge 80 optic has a typical 80mm focus length with a 2.8f aperture. Great lens for portraits if you ask me. It also has the ability to turn into a macro by simply pulling the lens outward in its extension tube.
Field Test
Of course there’s no electronic communication going on between the lens and the camera body, so you are in full manual focus mode with it, which can be tricky at first until you get a hang of it. But for those of you who like me, played with freelensing, you’ll find the smooth swivel and focus ring a huge improvement over the way you used to hold and twist the lens which was always at risk of dropping, not to speak of possible dust getting unto your sensor.
Since things in the viewfinder can get quite dark, depending on the light and F stop you are using, I recommend using the camera’s viewfinder where you can clearly map the field of focus to the region you want in the frame. I am going in full manual mode on my Nikon D7100, since I am a control freak, but you can easily shoot in aperture mode and let the camera choose the shutter speed. But why would you want to do this when things can get really blurry if you are shooting in low light, and you are hand holding the camera?
Be also aware that at dramatic angle tilting, your camera’s light meter might be fooled, and not read correctly. That’s why, shoot a couple of test images before you settle on a shutter speed. And as a good, diligent student, you should be shooting raw so you can salvage great shots that were under or over exposed.
You can control your focus slice by using the aperture traditionally just like on straight lenses (lower f stops will result in a narrower field while greater numbers will widen it).
Intuitively you control the position and angle of the focus slice by tilting the lens on its imaginary X or Y axis. Obviously you can have it tilted at any angle (within the total of maximum 17.5 degrees), but I find it helpful to think in terms of horizontal and vertical planes (meaning down and up tilts will result in a horizontal focus slices whereas left and right ones will give you a vertical one).
From portraits, still life to landscape, you can achieve some pretty sublime results where you can have the foreground and background in focus depending on your tilt angle, or bring attention to the model’s eyes in a pretty dramatic way.
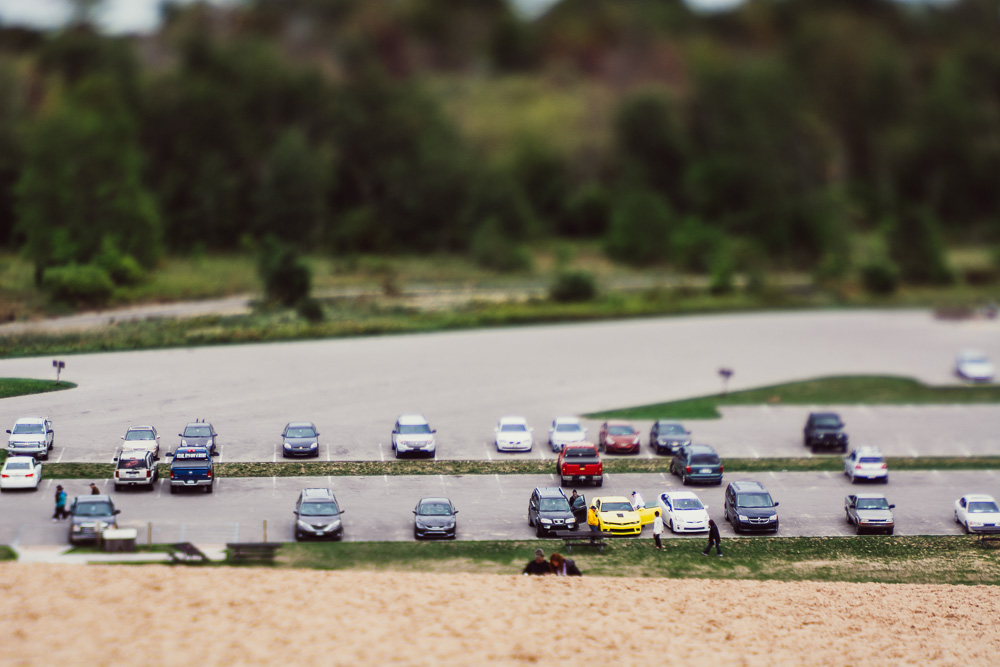
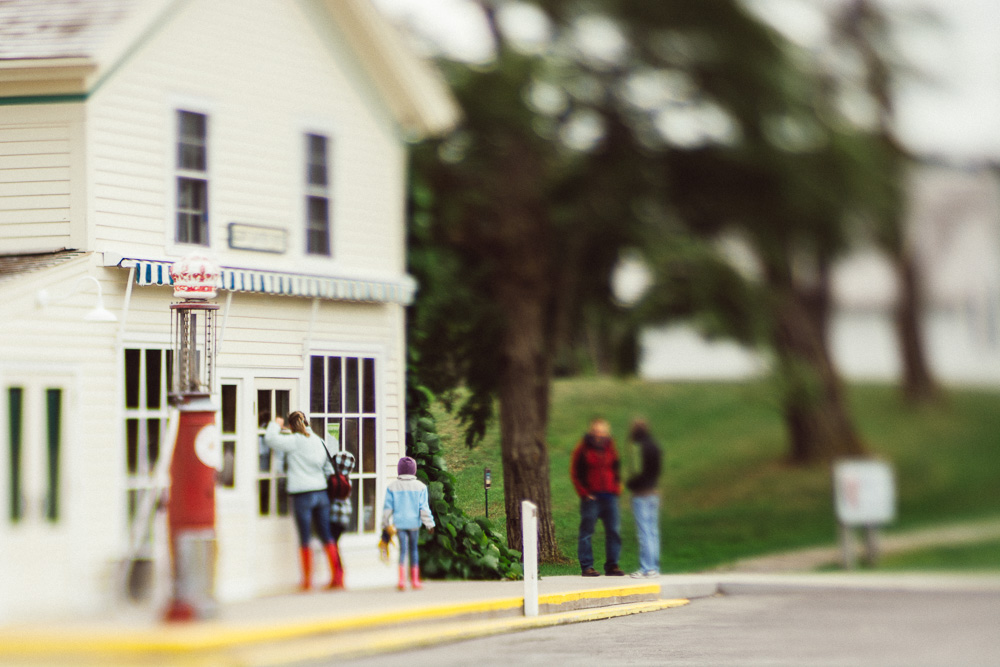
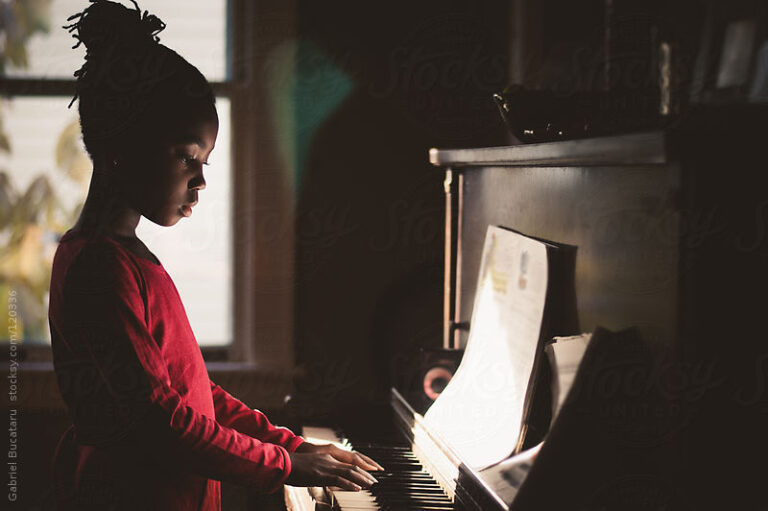
Below are some examples of the shots I took using the Lensbaby Composer Pro With Edge 80 Optics:


