
With your faithful support, my YouTube channel just hit the 100 subscribers milestone and I couldn’t be happier! Seriously, I know it isn’t much compared to some channels out there, but I value every single one of you. So as a HUGE THANKS, here is a FREE Cinematic LUT Pack you can use to color your Log footage!
You can use this set of 4 LUTs in DaVinci Resolve, Premiere Pro, FinalCut Pro or any other NLE you might be working with that accepts LUTs.
Works extremely well with flat Log color profiles like S-Log2 from Sony or Film dynamic range from Black Magic Pocket Cinema 4K cameras.
WHAT’S IN THE FREE CINEMATIC LUT PACK?
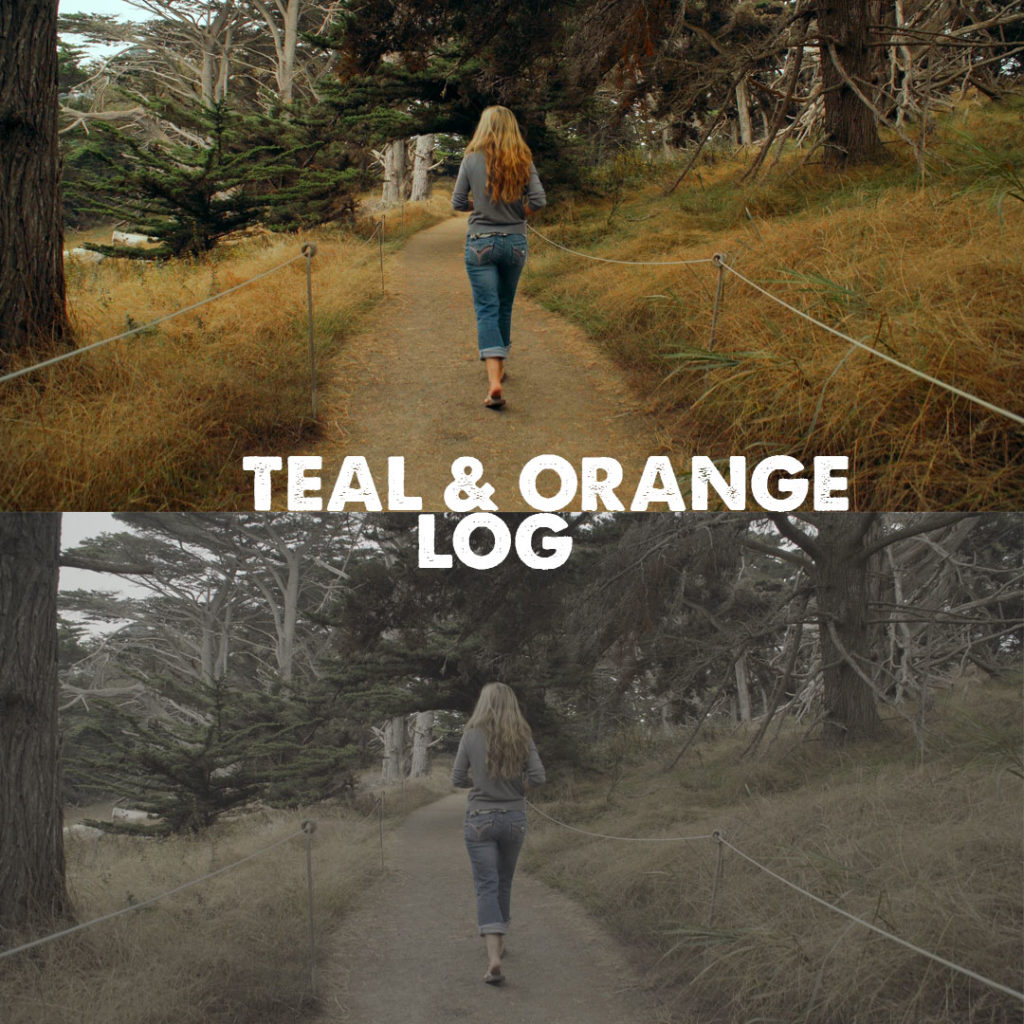
TEALORANGE: A cinematic teal and orange look with a high priority on preserving skin tones. Works great in outdoors, natural lighting situations.
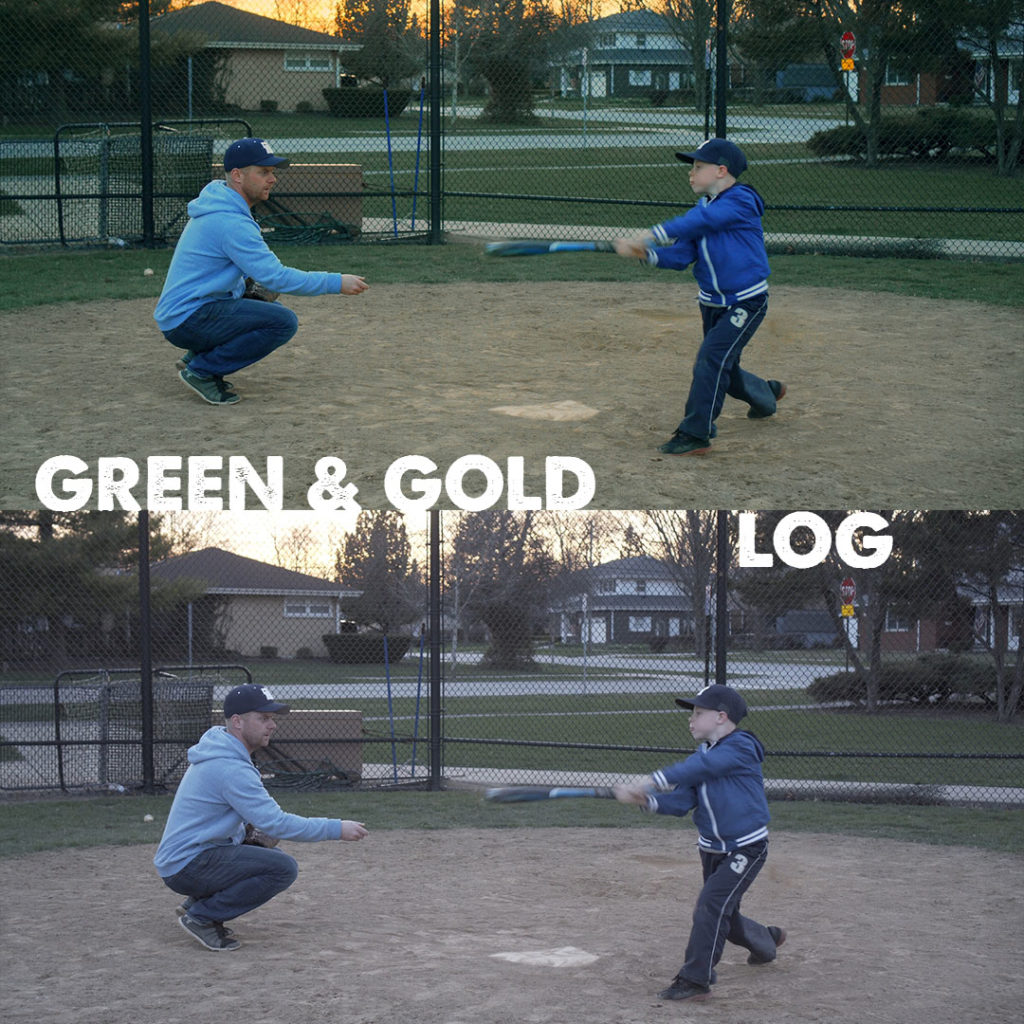
GREENGOLD: I designed this LUT with the golden hour light in mind. Brings out the richness of colors cast by the sun at that time of day.
BLUSHADE: Great indoor looks with blue-ish tones in the shadows but preserving the life and trueness in skin color

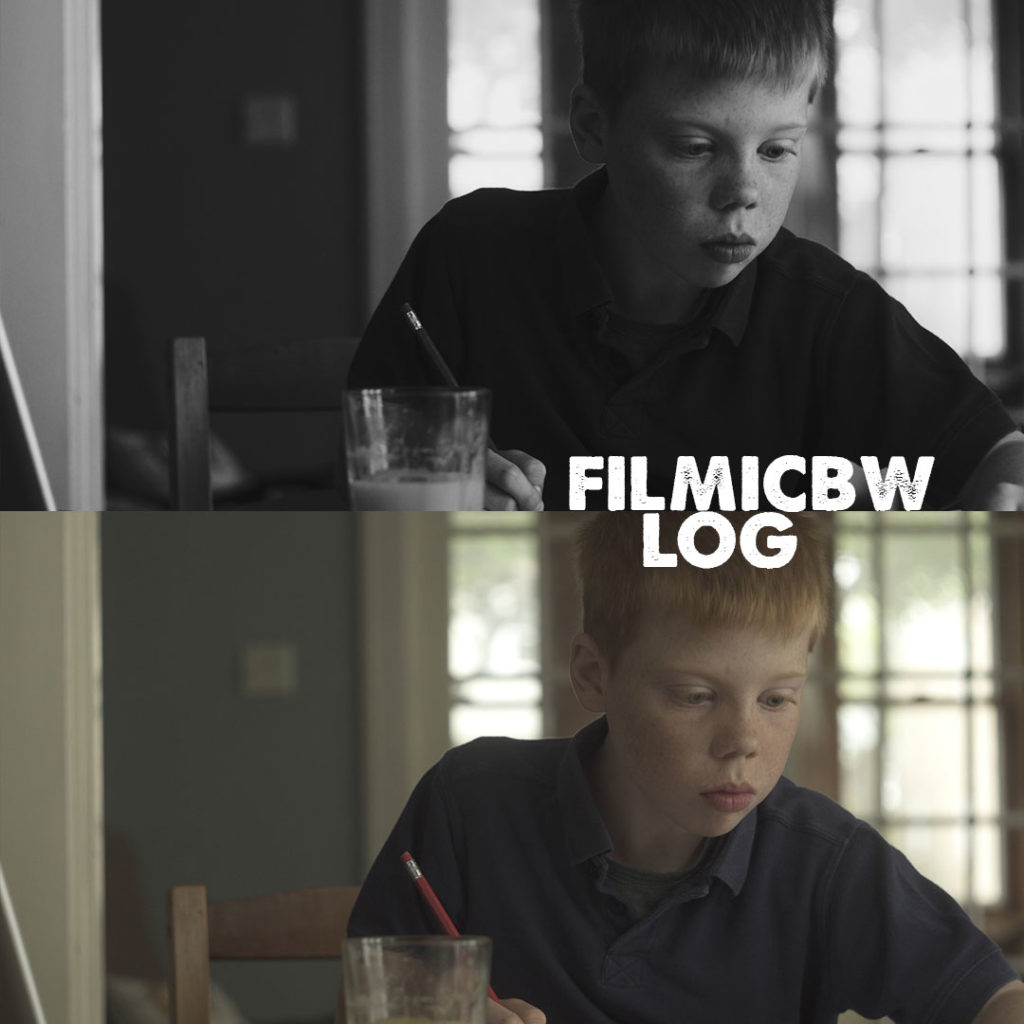
FILMICBW: A little black and white won’t hurt anyone, right? Add your footage an instant mysterious mood with this black & white film look.
INSTALLATION GUIDE
DaVinci Resolve
Open Project Settings->Color Management->Lookup Tables, and click Open LUT Folder. Drag the unzipped PHOTOGABI folder containing the LUTs to this folder then click Update Lists. You will see a PHOTOGABI menu under the 3D LUT menu item in the color page.
Premiere Pro
In the Color workspace, go to the Lumetri Panel and under Creative choose Looks and browse to the location where you’ve previously un-zipped and saved the PHOTOGABI folder. Choose one of the looks and apply them to the footage.
Final Cut X (versions 10.4 and later)
Select the clip you want to apply the LUT to, open the Effects Browser->Color section, select Custom LUT, drag unto your clip in the timeline. In the Inspector-> Custom LUT section select Choose custom LUT from the LUT->None drop-down box, navigate to the PHOTOGABI folder location and select it (choose Slog for input color space and leave rec 709 for output color space). This way the LUT’s will be accessible from the PHOTOGABI menu entry in the LUT drop-down box.
Add some contrast and saturation to your mix and you’ve got yourself some easy good looking cinematic grades! Please send me links to your project where you’ve used these FREE cinematic LUTs, I’m curious to see the creative way you’ve applied them to your footage.

DOWNLOAD the FREE Cinematic LUT Pack giveaway package here: http://photogabi.com/free-luts/
THANKS AGAIN to come along on this ride with me!
Yours, Gabi.